ATTACHING THE LEASH OF A SURFBOARD IS NOT QUITE AS EASILY DONE AS IT SEEMS IN THE FIRST PLACE.

As with everything that belongs to the surf preparation, there are also when attaching the leash a few important points on which you should pay attention.

We show you the most important, so that the leash fits perfectly, holds on the board and does not bother you while surfing.


WHAT IS THE LEASH ACTUALLY FOR?

In the ocean, the leash is probably the most important piece of connection between you and your board. It makes sure that the board stays with you when you leave a wave or when you don’t have the board with you. Because without the board it can get pretty wild in the line up.

So the board will always stay close to you. However, it is best to choose the length of the leash similar to the length of the board, so that on the one hand it does not fly too far away and on the other hand it cannot hurt you by snapping back.

So here are the most important things to look for when attaching your leash to your board.


FIRST THINGS FIRST... THE RIGHT LENGTH

For ocean surfing, it’s best to choose the length of your leash depending on your board. Ideally, the leash is exactly as long.

For all boards from just under 6″ to slightly above, we recommend a 6″ long leash. For all boards that are near 7″, it is best to use the leash in the length of 7″. This way you make sure that your board can move a maximum of one board length away from you.


You can find the right leash for all KANOA surfboards in our store.


THE LEASH ROPE & THE RAIL SAVER

The first step in attaching a leash is, of course, the connector between your board and the leash… called a leash rope. This is usually supplied with your leash. If not, you can get one in any surf shop, usually at the checkout.

The Leash Rope is already knotted and can be easily pulled as a loop through the leash holder of your board. Make sure that the Leash Rope does not overlap the tail of your board at the end.

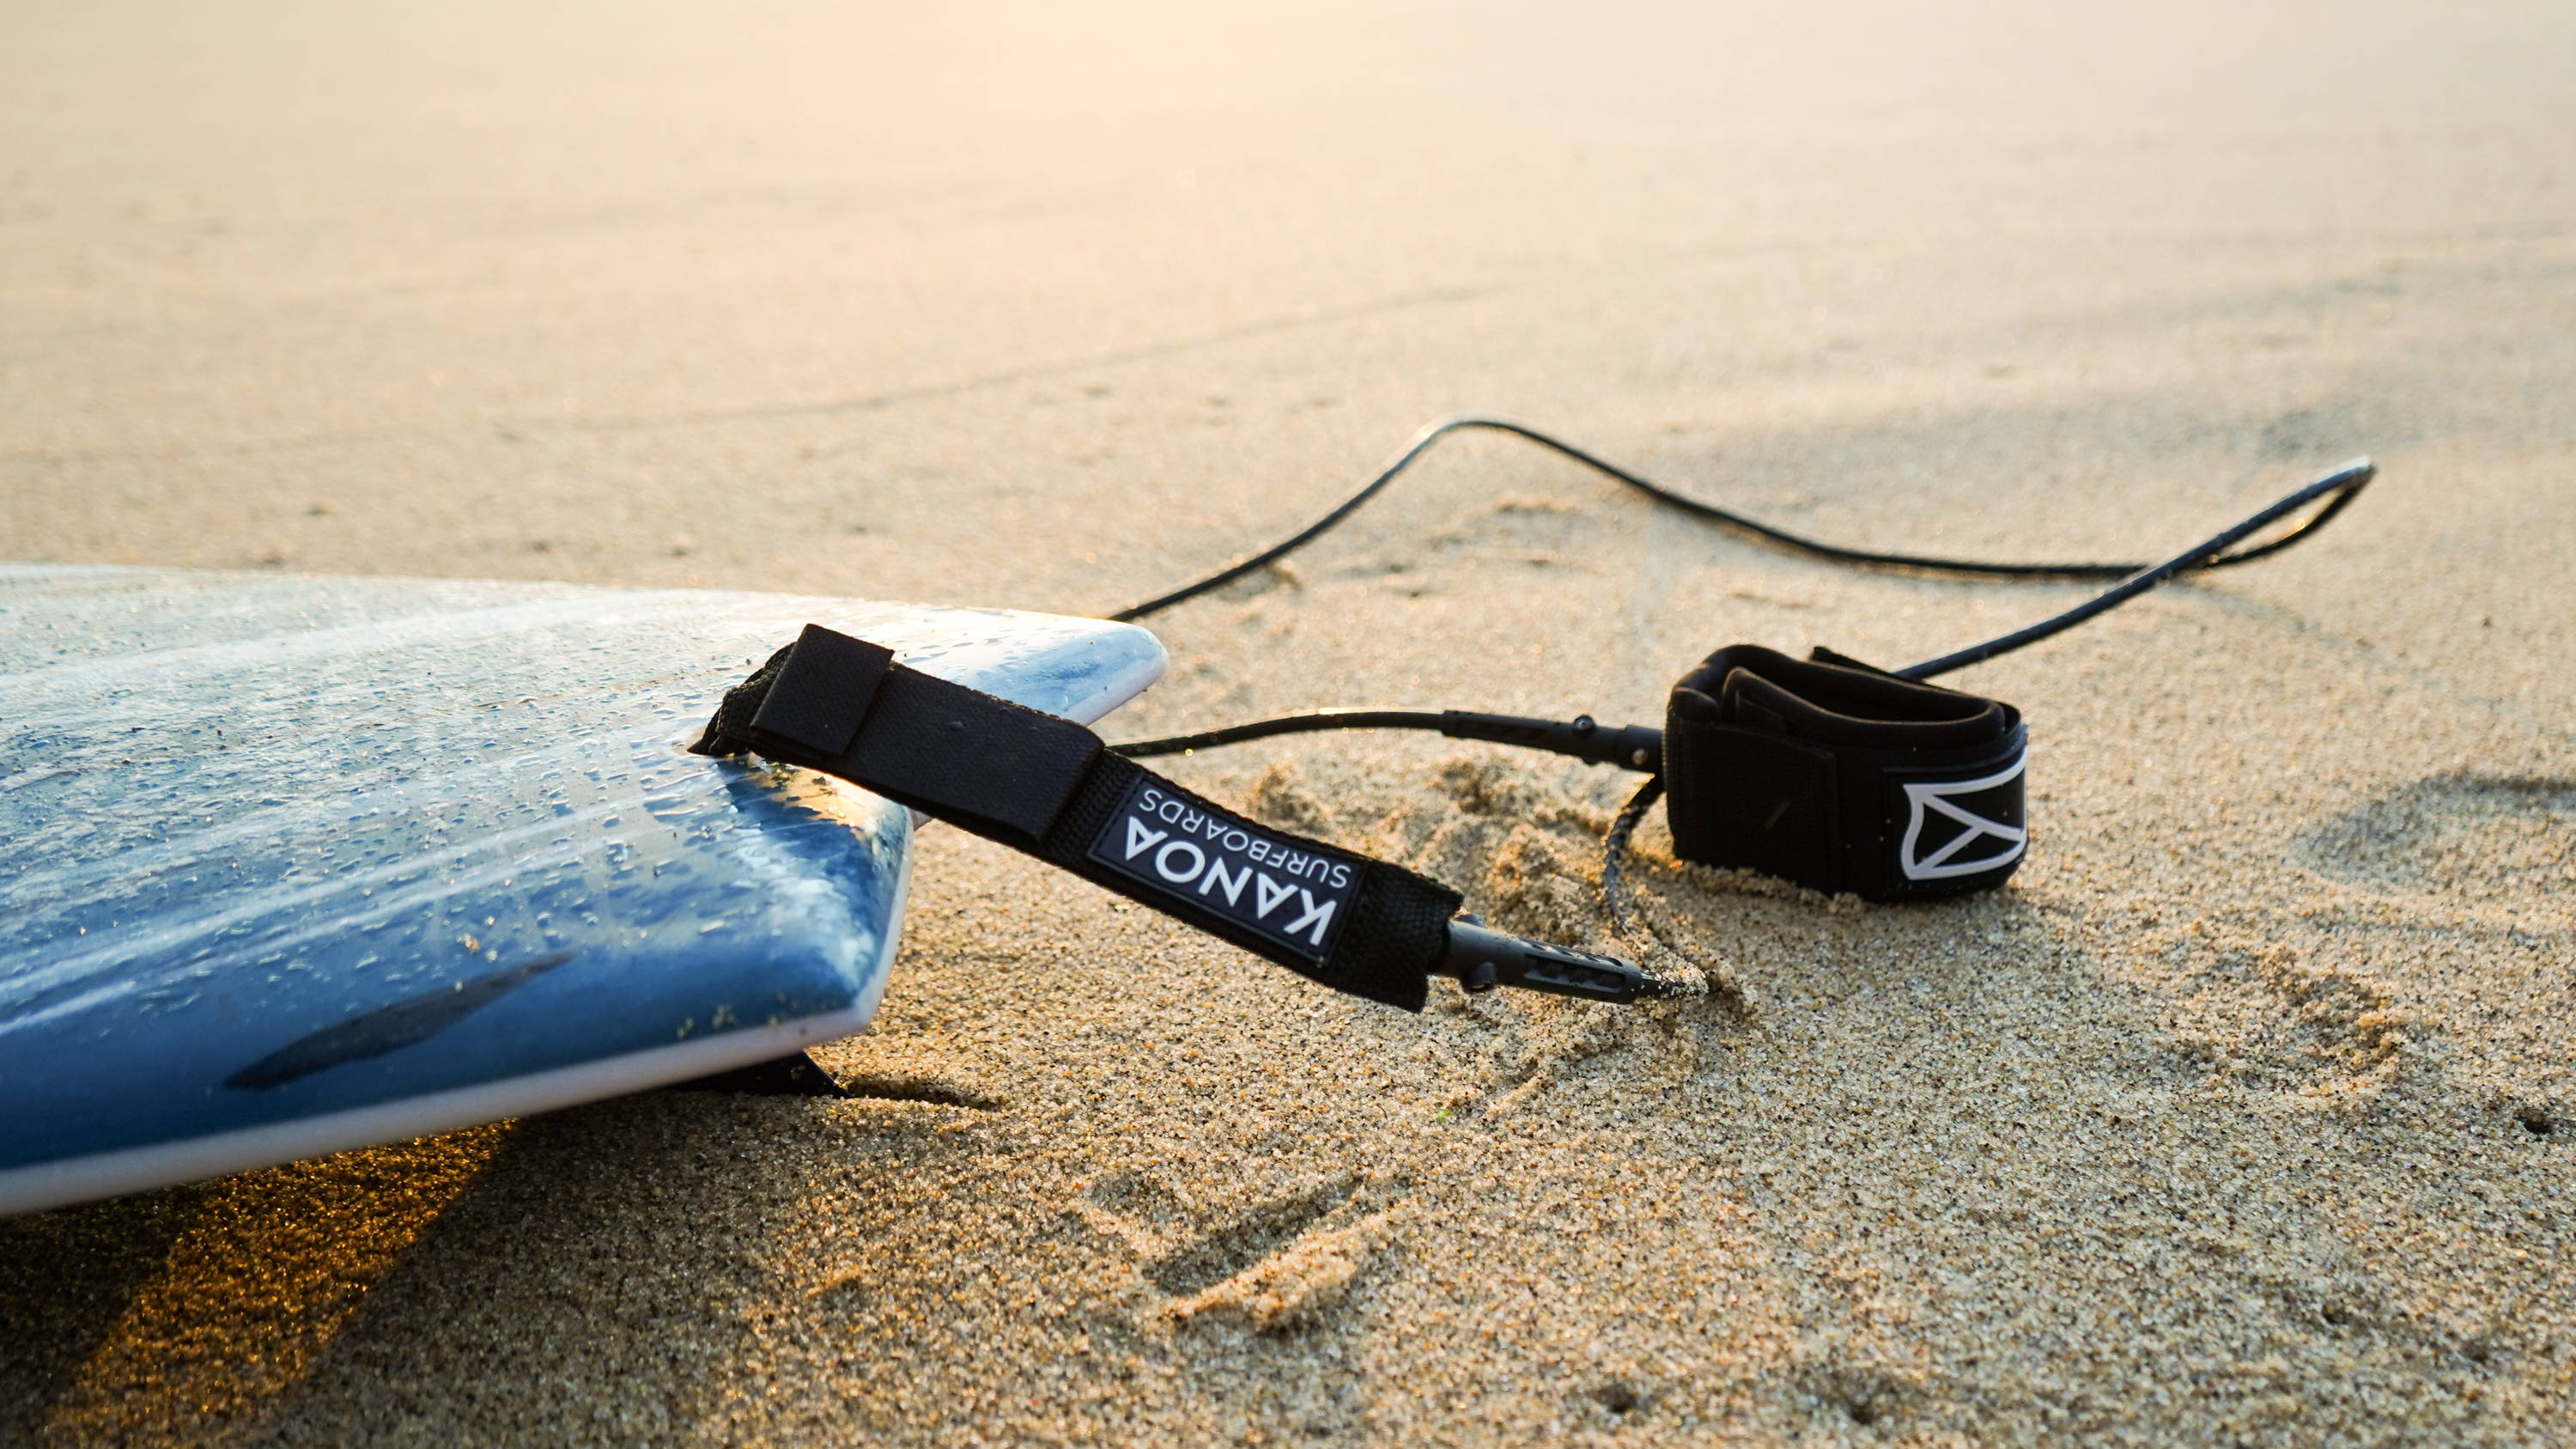
This is where the rail saver should rest later to avoid damage to your board.

If the leash rope sits there, it can happen during wipe outs or other situations in which your board is far away from you that the rope rubs against your board and damages it.


ATTACHING THE RAIL SAVER

The Rail Saver is the end of your leash that does not belong on your foot. This is designed with several Velcro fasteners so that the leash can not tear loose in the water.

To attach the Railsaver, open all Velcro fasteners until the Railsaver lies in front of you like an unfolded book. Now you tie it around the knot of your Leash Rope, so that this is hidden in the Rail Saver.

Then make sure that you close all Velcro fasteners properly and do not overlap anything, so that the leash can not open in any case.


KANOA Teamrider Seti Burling shows you the most important steps:


LEASH ATTACHED... OFF WE GO

If you always pay attention to these points when attaching the leash, nothing should go wrong and your surfboard should always remain intact.

Also make sure that you do not twist or wind up the leash when transporting your board. Otherwise, it will wrap around your foot faster while surfing and could be in your way.

The leash is on, so the first step is done. Be sure to check out our other how-to’s as well.