On the one hand, you should wax your board properly. But especially when surfing shortboards, it is recommended to use a tail traction pad to raise your traction to a new level.
HOW TO: Install a surfboard tailpad
Good Grip on your Surfboard is definitely an essential for your surf
GRIP IS THE ANSWER...
BUT WHAT WAS THE QUESTION?
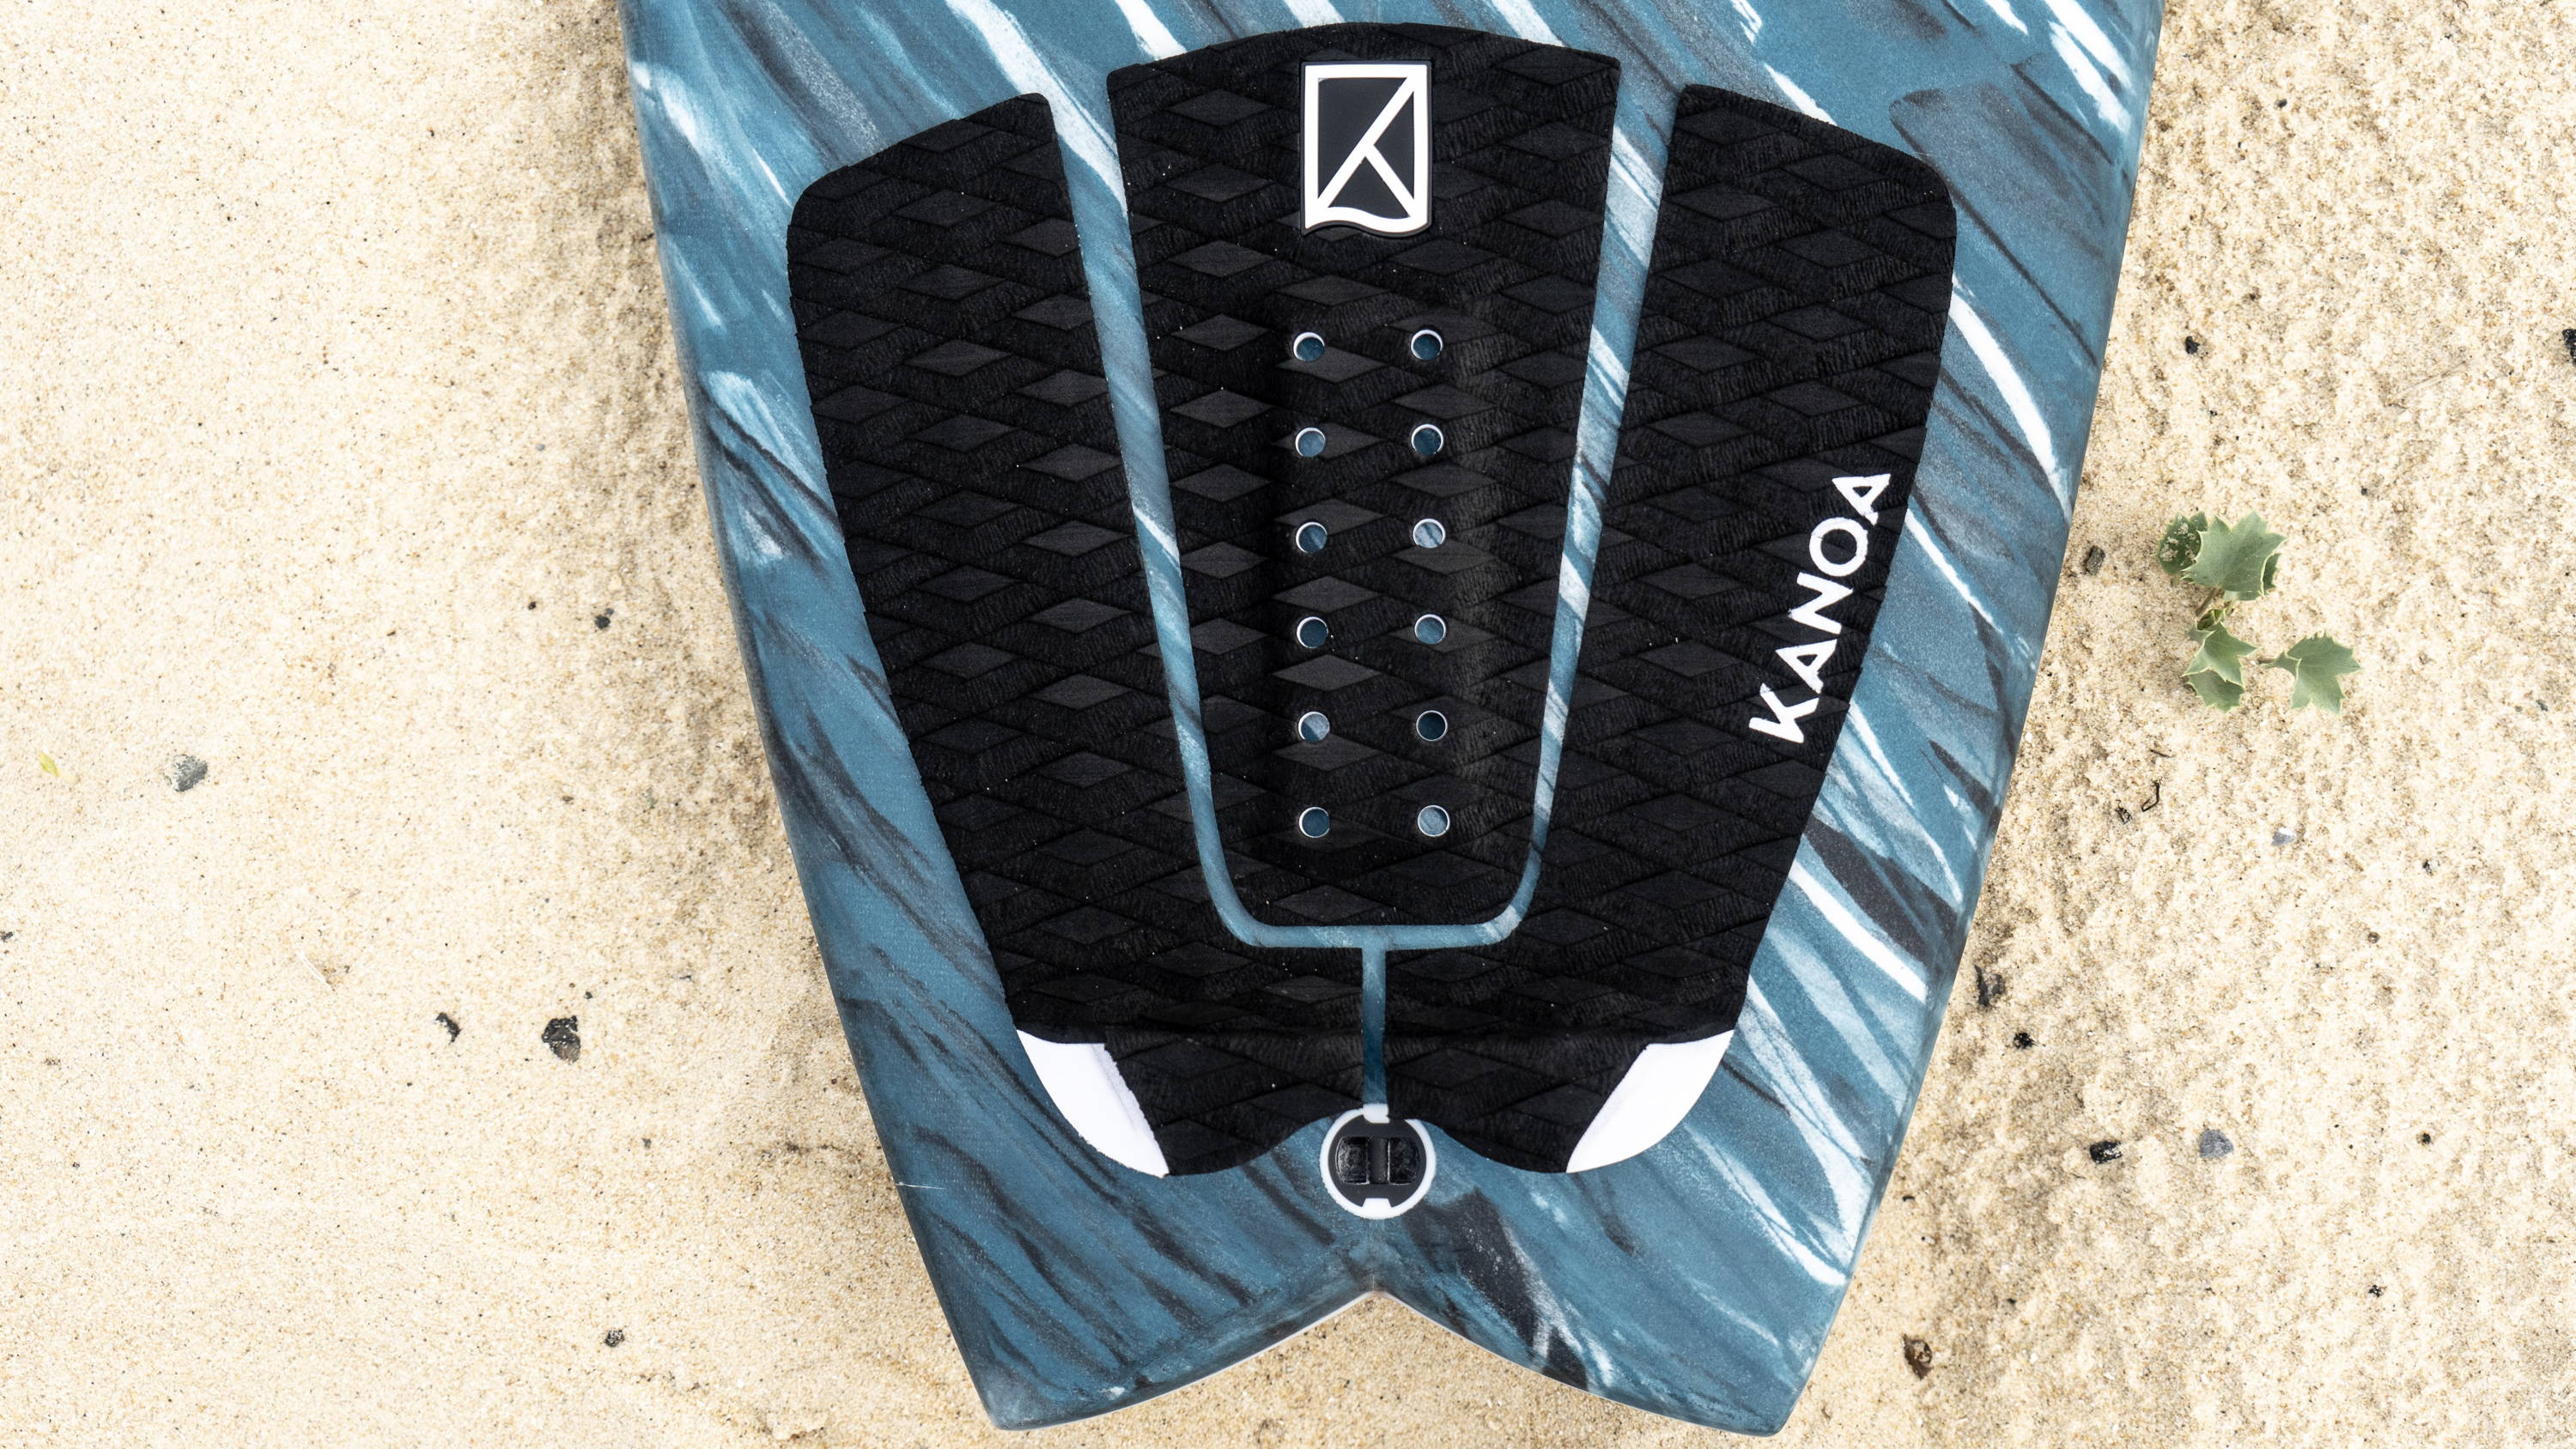
A traction pad for the tail of the surfboard is used mainly for shortboards… These are characterized mainly by their shape. Here you will find a few examples of shortboards in our shop, for which a traction pad is well suited.
The use of a traction pad has several advantages. On the one hand, after dropping into a wave, you will find out faster if your foot is in the right place, because that is where the pad is ideally located.
But more important is the grip that the pad offers you. Through this you will build up much more pressure on the back foot and thus also be able to ride more aggressive turns. Also, you won’t have to wax your board at this point… Another plus!
However, the pad must adhere well to the surfboard and should be positioned as ideally as possible to work as you imagine. Therefore, follow the steps below…
STEP 1: CLEAN IT UP
As a first step, you should clean the surface of your surfboard around the tail in preparation.
Take a moist towel or tissue and wipe the surface carefully. You can also use a glass cleaner to remove heavy dirt. In particular, no grease remains should be left on your board, as this will affect the adhesion of your Traction Pad. If the board is very wet after cleaning, it is best to wipe it again with a dry cloth
STEP 2: THE POSITIONING
Before the pad is glued on directly, it is important to briefly determine the correct position beforehand.
To do this, place the pad correctly on the board without removing the adhesive strips. The pad is best placed directly over the fins and ends with the center fin at the very back. It is best to look sideways at the pad when the fins are already mounted in the board. Viewed from above, the tail pad ends just before the leash plug.
(SIDE NOTE: The second picture shows a Quad Fin setup installed. Here the pad ends best shortly behind the last fin. The ideal orientation point is the last fin box on the tail)
With a three-piece tail pad, the width can also be adjusted. The middle part belongs exactly over the stringer. The other two parts are best adjusted to the length of your foot. In the middle of the pad, the width should correspond to the span of your foot.
STEP 3: THE MIDDLE PART
The middle part of the traction pad serves as a guide for gluing the other pieces on and should fit as precisely as possible.
Since the positioning in advance the place for the pad is already correct, you lift now only the middle part, loosen the adhesive strip on the back, and stick the pad centrally over the stringer of your surfboard.
It’s best to stick this part on loosely at first, without pressing it tightly. This way, corrections are still possible in the later step.
STEP 4: LEFT & RIGHT
If the middle strip fits, you can go with the parts for left and right on this and the leash plug.
The distance between parts is best adjusted to the length of your foot, as described above. However, make sure that the distance between the middle and the respective side is the same (by eye, of course).
Also glue these two parts only loosely to be able to correct if necessary.
STEP 5: MAKE IT LAST
The pad now sticks to the correct position. However, it is at least as important as the correct positioning to ensure that the pad also holds in the long term. Because under the influence of salt water and the constant pressure while surfing, the adhesive can possibly loosen.
So press the pad as carefully as possible on your board. It is best to use the entire palm of your hand or your thumbs and apply a good amount of pressure. You can also run the flat of your hand between the diamond pattern of your pad to get the best possible grip.
Check the fixation of your pad several times after pressing it down. After all, the pad should remain on the board for as long as possible, so that you always have a good grip.