STAY PUT AND SHRED

You just received your new foamy? To make sure you have got the proper grip a tailpad is always a good choice. Because our new foamys come with exchangeable fin boxes and drop through screws so you can in choose the fin system you like, we will show you how to make your pad stay in place.

Follow these steps to position your tail pad correctly, stick it on, and make sure it lasts. 


TIDES ARE CHANGING...

... and so does our board construction. We have just launched our new foamy X surfboard collection, which is all about shredding more and worrying less. With a thicker rail tape and our trusted A\V ST - Construction you will have more time the water because of their durability.

To make sure you have enough grip it is always a good choice to use a traction pad. However, the pad must adhere well to the surfboard and should be positioned as ideally as possible to work as you imagine. Because our new foamys come with x-changable fin boxes you have to pay attention to the drop through screws.

Therefore, follow the steps below or have a quick look at the video...


STEP 1: TAKE OUT THE SCREWS

Before positioning and glueing on the pad, you have to take out your drop thorugh screws. You can just use a 2€ coin to screw them out and put them on the side for later. Turn the board and remove the finboxes after that.  

Note: If you glue your tailpad over the screws, it won't last that long and will come off much easier!


STEP 2: SAND IT AND CLEAN IT UP

In order to have a good base for your tail pad on a foamy it is helpful to use some sandpaper and roughen the surface. This will increase the adhesion of our traction pad.

Take a moist towel or tissue after and wipe the surface carefully. You don't want any dust to be under the traction pad. You can also use a glass cleaner to remove heavy dirt. In particular, no grease remains should be left on your board. If the board is very wet after cleaning, it is best to wipe it again with a dry cloth.


STEP 3: THE POSITIONING

Before the pad is glued on directly, it is important to briefly determine the correct position beforehand.

To do this, place the pad correctly on the board without removing the adhesive strips. The pad is best placed directly over the fins and ends with the center fin at the very back. It is best to look sideways at the pad when the fins are already mounted in the board. Viewed from above, the tail pad ends just before the leash plug.

With a three-piece tail pad, the width can also be adjusted. The middle part belongs exactly between the holes for the screws for the left and right finbox. The other two parts are best adjusted to the length of your foot. In the middle of the pad, the width should correspond to the span of your foot.


STEP 4: THE MIDDLE PART

The middle part of the traction pad serves as a guide for gluing the other pieces on and should fit as precisely as possible.

Since the positioning in advance the place for the pad is already correct, you now lift only the middle part, loosen the adhesive strip on the back, and stick the pad centrally between the holes for the drop through screws.

It’s best to stick this part on loosely at first, without pressing it tightly. This way, corrections are still possible in the later step.


STEP 5: LEFT & RIGHT

If the middle strip fits, you can go with the parts for left and right on this and the leash plug.

The distance between parts is best adjusted to the length of your foot, as described above. However, make sure that the distance between the middle and the respective side is the same (by eye, of course).

Also glue these two parts only loosely to be able to correct if necessary.


STEP 6: MAKE IT LAST

The pad now sticks to the correct position. However, it is at least as important as the correct positioning to ensure that the pad also holds in the long term. Because under the influence of salt water and the constant pressure while surfing, the adhesive can possibly loosen.

So press the pad as carefully as possible on your board. It is best to use the entire palm of your hand or your thumbs and apply a good amount of pressure. You can also run the flat of your hand between the diamond pattern of your pad to get the best possible grip.

Check the fixation of your pad several times after pressing it down. After all, the pad should remain on the board for as long as possible, so that you always have a good grip.


STEP 7: PREPARING THE PAD

Now, that your pad is positioned right and sticks well on the board, it is time to prepare the pad in order to put the screws back in. To do that, start , if you haven't done it already, by turning your foamy upside down and remove the exchangable fin box.

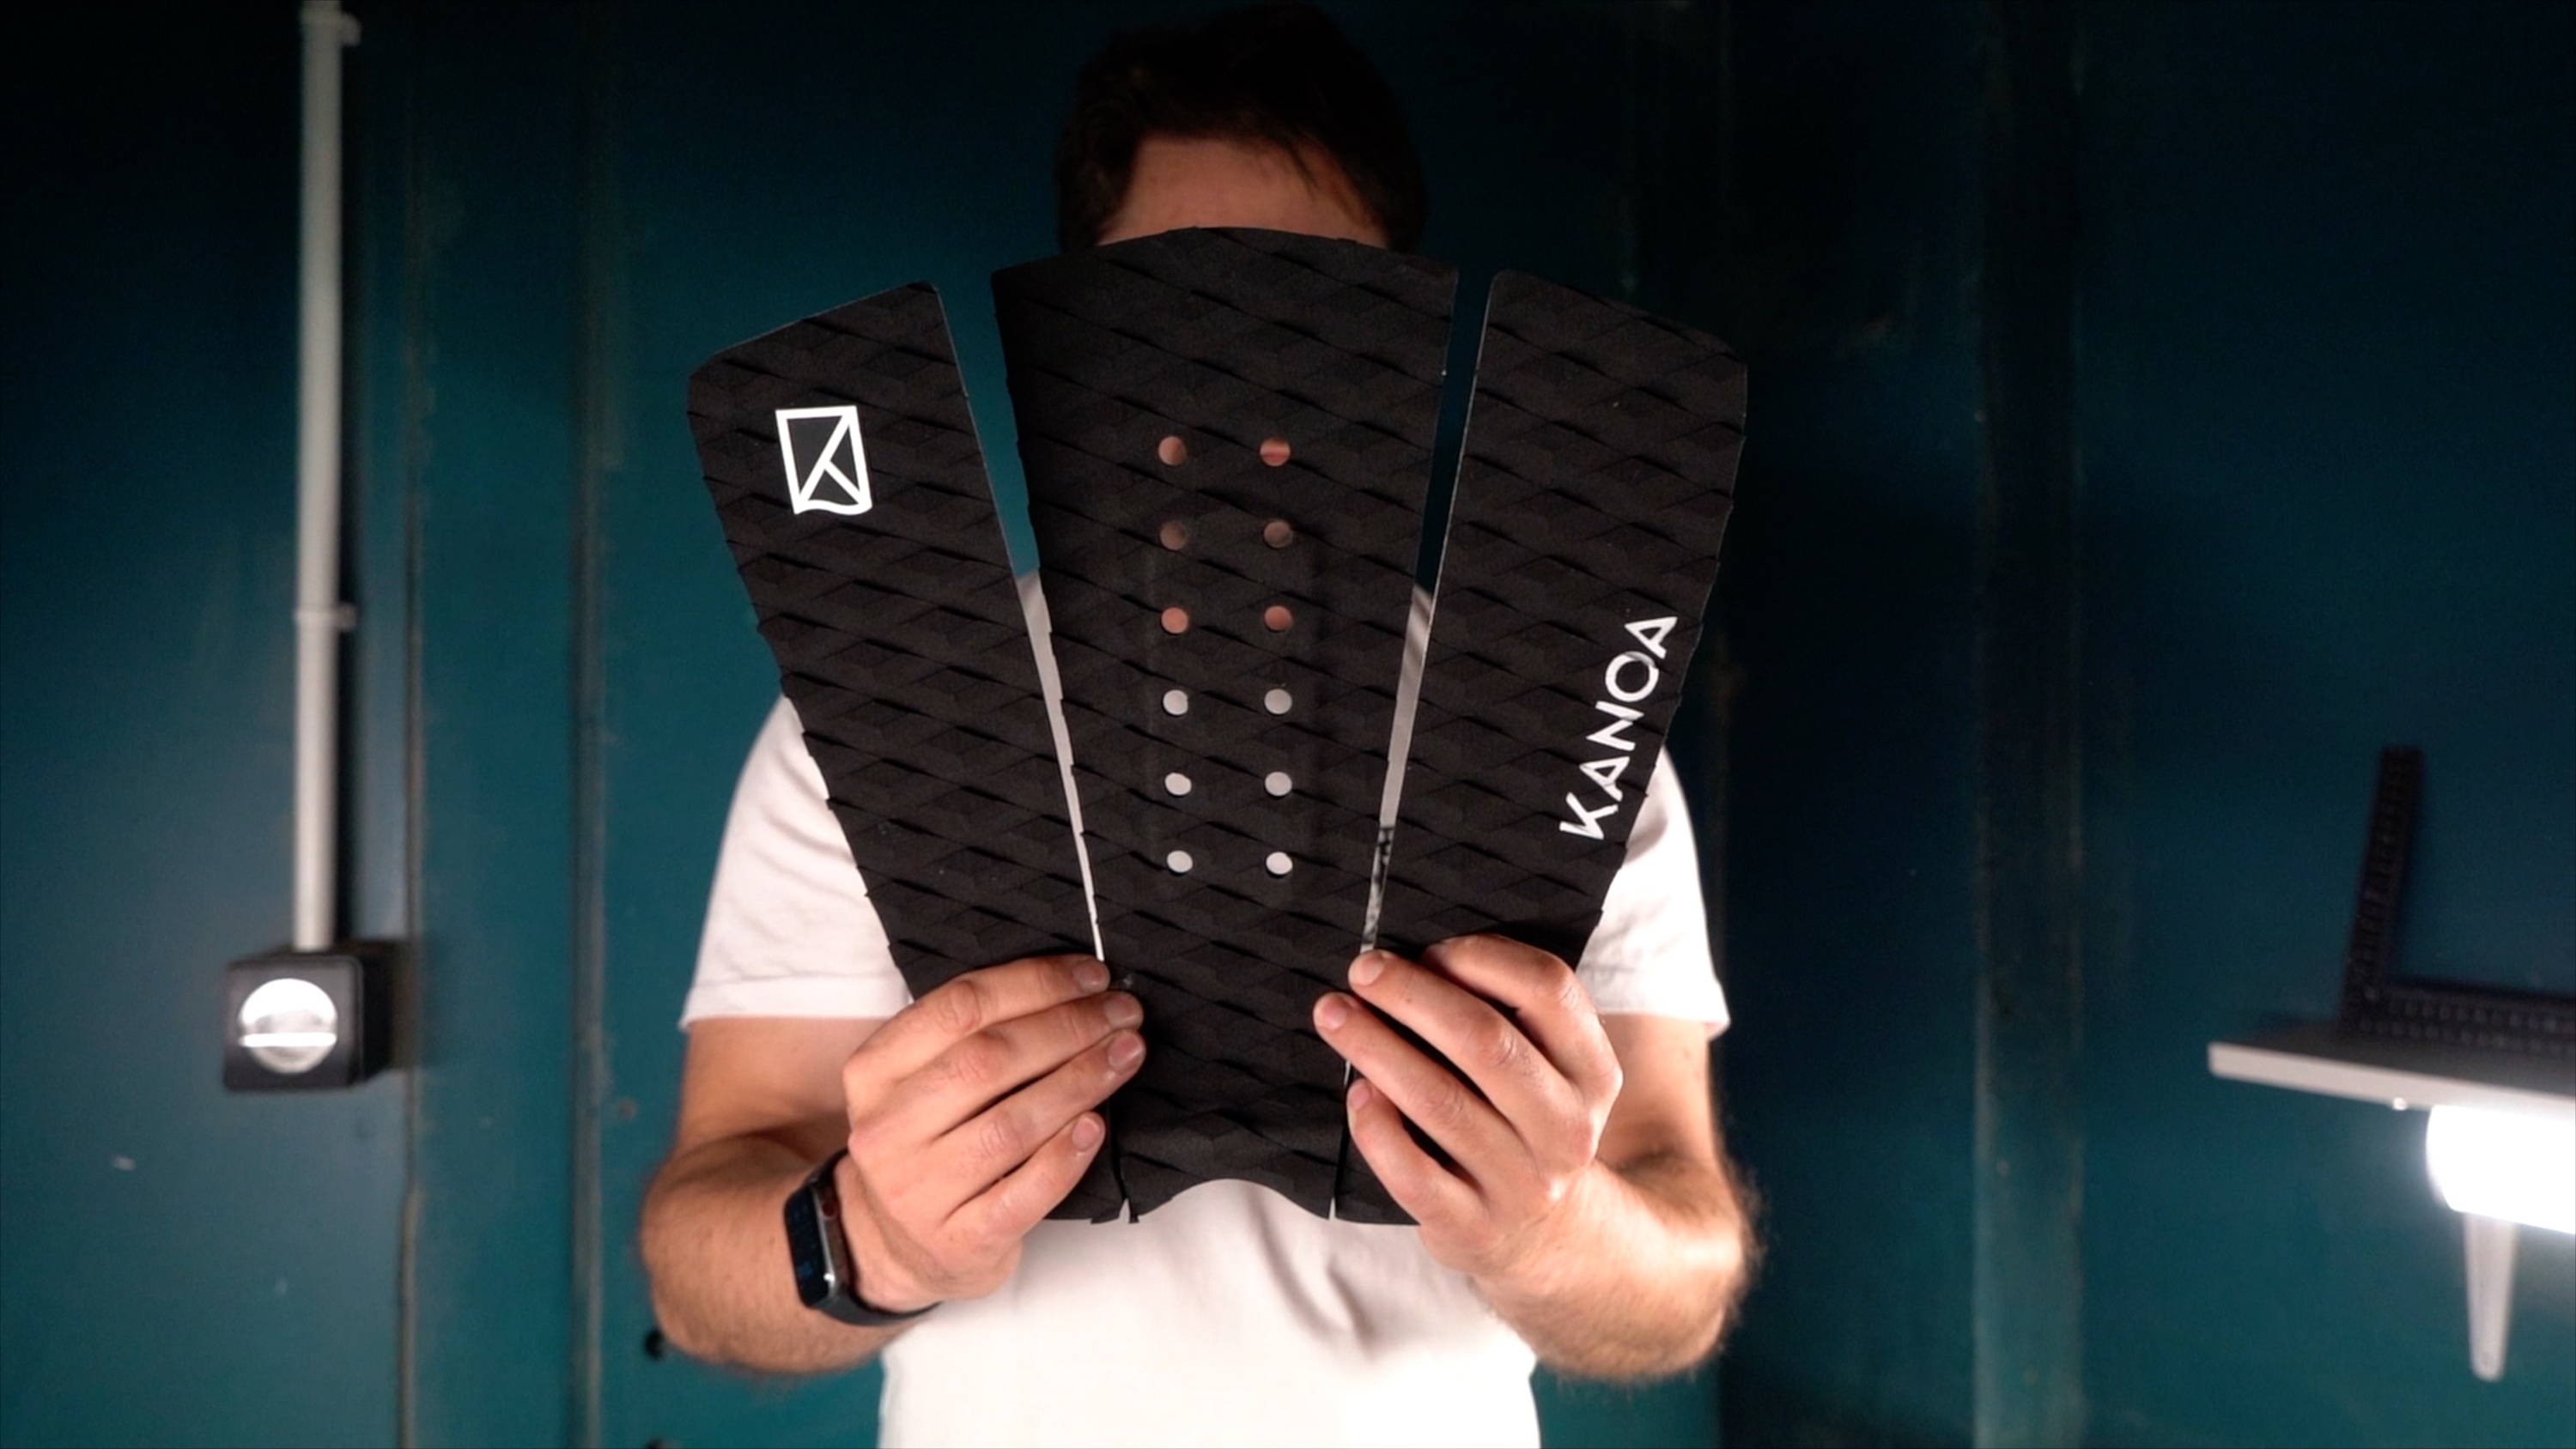
After that, you can turn your board again, so the pad is facing up. Next, you are going to stab a hole into your traction pad right through the thread where you usually put your screws. You need a hole for the two screws in the middle of the back part of your pad. Additionally, you need a hole on the left and right - but only for the screws that are closer to the middle part of your pad. (No hole is needed for the screws closer to the rail since they are not covered with the pad!)

Side Note: You can just use a ballpoint pen, that fits through the hole to do so.

Put a suitable pen under the board and push it gently up until it reaches the pad. Add some more pressure to get through the material. To widen the hole for an easier installation of the screws, put the pen one more time through the thread.


STEP 8: PUTTING THE SCREWS BACK IN

Now, that you have prepared the pad with the right holes you can finish your job by putting the screws back in.

First, put the exchangeable fin box back in its place, hold it and start screwing the drop through screws back in. With the help of your 2€ coin, this will be easily done.

If all the screws are back in, you are ready to go!


TAILPADS COME IN DIFFERENT SHAPES AND COLORS

And our KANOA pads with the EcoLogix Sign come with a special biodegradable foam as well. So, while doing something good for the planet you will also look good doing it with the new clean design of your foamy X.


See our other how-to articles to make your surf setup perfect.